Disclosure: This post contains affiliate links and I will be compensated if you make a purchase after clicking through my links. Learn More
Is your toilet seat loose and wobbly? This common issue is simple to fix.
Learn how to tighten a toilet seat with ease. A loose toilet seat can be annoying and even unsafe. It’s a problem that often gets overlooked, but fixing it can improve your bathroom experience. Whether you have a modern or old toilet seat, the process remains straightforward.
This guide will help you secure that seat in no time, using basic tools you likely already have at home. No need for a plumber or special skills. Just follow these steps, and your toilet seat will be sturdy and secure once again. Let’s dive into the simple process of tightening your toilet seat.
Gathering Materials
Gathering the right materials is crucial for tightening a toilet seat effectively. A wrench, screwdriver, and pliers are typically needed. Ensure you have the correct tools to avoid damage and ensure a snug fit.
Gathering the right materials is an essential first step when you’re preparing to tighten a toilet seat. Without the appropriate tools and replacement parts, you might find yourself stuck mid-project. Imagine the frustration of having to pause your work, run to the store, and potentially lose your motivation. But with some simple preparation, you can avoid this hassle and have your toilet seat secured in no time.
Tools You Will Need
Before diving into the task, ensure you have the necessary tools on hand. A screwdriver is a must-have—most toilet seats use either a Phillips or flat-head screwdriver. It’s also helpful to have a wrench or a pair of pliers. These can help if the bolts are stubborn or corroded.
A flashlight might seem trivial, but it can make a big difference. Bathrooms often have poor lighting around the toilet base, and a flashlight ensures you see what you’re doing. Keeping a cleaning rag nearby is also wise. You might encounter dirt or residue under the seat, and a quick wipe down will keep things tidy.
Choosing The Right Replacement Parts
Sometimes, simply tightening isn’t enough, and you may need to replace certain parts. First, inspect your current bolts. If they’re rusted or damaged, it’s best to replace them. Plastic bolts are great for avoiding rust, while metal bolts offer more durability.
Consider the hinge type of your toilet seat. Different seats have different mechanisms. Bringing a photo of your toilet seat to the hardware store can help you find the right fit. Don’t forget the washers. These tiny components can make a huge difference by providing a more secure fit.
Have you ever thought about the difference between a smooth bathroom experience and a frustrating one? Sometimes, it’s the small details, like the right tools and parts, that make all the difference. By taking a few minutes to gather what you need, you’re setting yourself up for a quick and easy fix.
/tightening-a-loose-toilet-seat-2719023-hero-31a7b0bbe0434ea281b2e77bb1aa4e1a.jpg)
Credit: www.thespruce.com
Preparing The Area
Clear the space around the toilet for easy access. Ensure the floor is clean and dry. Remove any items that might obstruct your work.
Preparing your toilet area is crucial before tightening the seat. A clean and safe space ensures an easy and efficient process. Follow these steps for a smooth experience.
Ensuring Safety And Cleanliness
First, gather your cleaning supplies. Use a disinfectant spray or wipes. Clean the toilet seat and surrounding area. Remove any dirt or grime. This prevents slipping while working. Ensure the floor is dry to avoid accidents. Wear gloves to protect your hands from germs.
Removing Obstructions
Check for any obstructions around the toilet. Clear away items like rugs, mats, or trash cans. These can interfere with your movement. Ensure you have enough space to work comfortably. Look for any loose items on top of the tank. Remove them to prevent accidents. Make sure you have easy access to the seat and bolts.
Identifying The Problem
Before fixing a loose toilet seat, it’s crucial to identify the problem. You need to know why the seat is wobbly. This will help you fix it correctly. Let’s dive into the steps for identifying the problem with your toilet seat.
Inspecting The Seat And Hinges
First, check the toilet seat and hinges. Lift the seat and examine the hinges closely. Look for any visible damage or wear. Broken or cracked hinges can cause the seat to move. Tightening them might not help if they are damaged.
Next, see if the screws are loose. Loose screws are a common issue. They can easily be tightened with a screwdriver. If the screws are missing, you will need to replace them.
Common Causes Of Loose Seats
Loose seats can be caused by several factors. One common cause is everyday use. Over time, the screws and hinges can become loose. Another reason could be poor installation. If the seat was not installed properly, it can become wobbly.
Sometimes, the toilet seat material can wear down. This wear and tear can lead to a loose fit. Also, children or heavy use can stress the seat, making it loose. Identifying these causes will help you fix the problem more effectively.
Credit: www.toiletseats.com
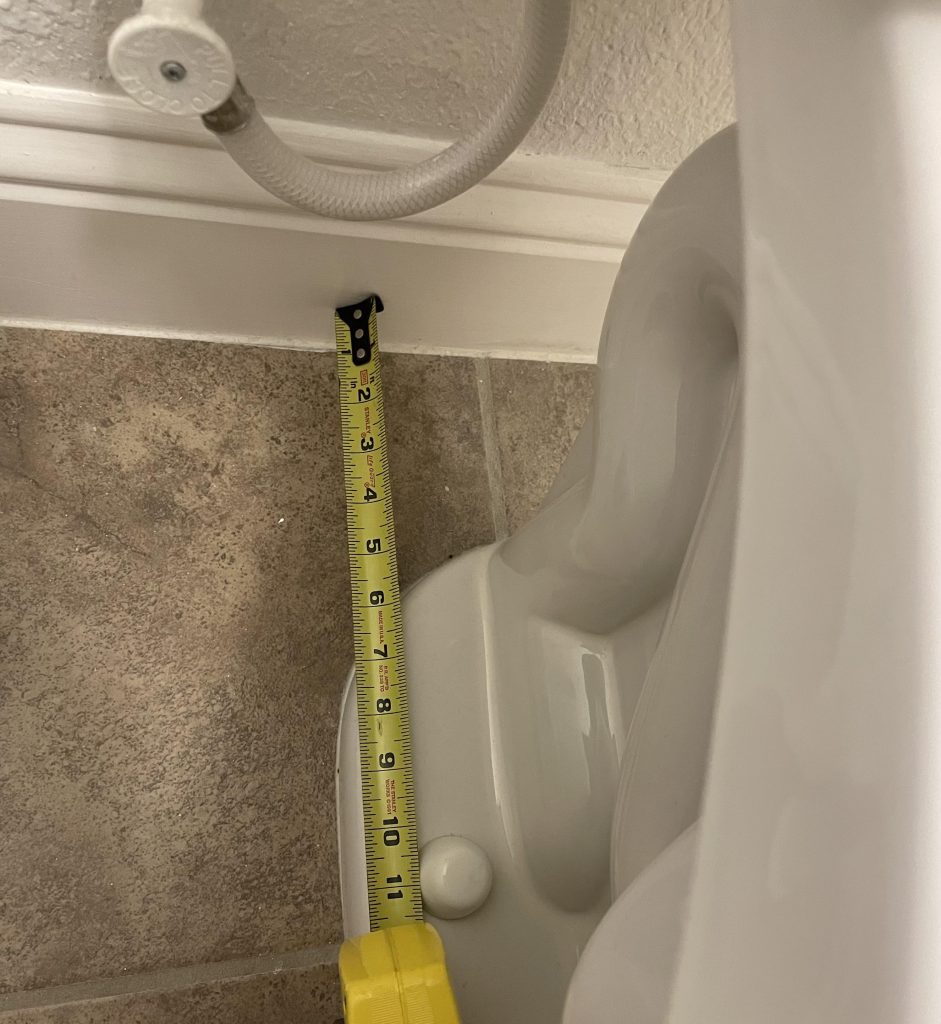
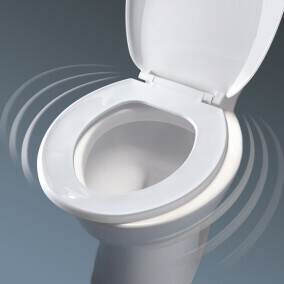
Tightening The Seat
Fixing a loose toilet seat involves tightening the screws located at its base. Use a wrench or a screwdriver to secure the bolts. Ensure the seat is firmly in place for safe and comfortable use.
Tightening a loose toilet seat may seem daunting, but it’s a straightforward task that can save you from unexpected slips. Imagine sitting on your toilet, only to feel it shift beneath you—unsettling, right? The good news is you don’t need to be a plumbing expert to fix this. With a few simple steps, you can secure your toilet seat, ensuring it stays firm and steady.
###
Step-by-step Instructions
1. Gather Your Tools
Start by grabbing a flathead screwdriver and an adjustable wrench. These are often all you need for the job.
2. Locate the Bolts
Lift the toilet seat and look for the bolts at the back. They usually hide under small plastic caps.
3. Remove the Caps
Use your fingers or the screwdriver to gently pry off the caps covering the bolts. This reveals the bolt heads.
4. Tighten the Bolts
Hold the nut underneath the toilet bowl with the wrench. Use the screwdriver to turn the bolt clockwise. Tighten until the seat feels secure, but be careful not to overdo it.
5. Replace the Caps
Once the seat is firm, snap the caps back over the bolts. This keeps everything looking neat and tidy.
###
Tips For Securing The Bolts
– Check for Corrosion
Before tightening, inspect the bolts and nuts for rust. If they’re corroded, it might be a good idea to replace them. This ensures a longer-lasting fix.
– Use Plastic Washers
Adding plastic washers can help distribute the pressure evenly when you tighten the bolts. This prevents cracking of the toilet base.
– Consider Rubber Grips
If your seat seems to loosen frequently, rubber grips can provide extra stability. They help keep the bolts from shifting over time.
Have you ever tightened a toilet seat only to find it wobbly again in a month? This might be due to skipping one of these small, yet crucial steps. Ensuring each bolt is securely fastened will keep your seat in place, offering you peace of mind.
Now, with these practical steps and tips, you’re all set to tackle that wobbly toilet seat confidently. Who knew a stable toilet seat could bring such satisfaction?
Replacing The Hardware
The toilet seat is one of those household fixtures that undergoes wear and tear. Replacing the hardware can be a straightforward solution when tightening fails. This process ensures a snug fit and a comfortable seating experience. With the right tools, replacing the hardware can be quick and easy.
When To Replace Instead Of Repair
Sometimes, a repair won’t fix a loose toilet seat. If the bolts are rusted or cracked, replacement is necessary. Old hardware can weaken over time, leading to recurring issues. Consider replacement if repairs don’t last or if parts look damaged.
Installing New Bolts And Nuts
Start by removing the old bolts and nuts. Use a wrench to loosen and detach them. Clean the area around the bolt holes before installing new hardware. This prevents dirt from affecting the installation.
Insert the new bolts through the seat holes and align them with the toilet’s mounting holes. Secure them tightly using a wrench. Ensure they are firm to avoid future loosening. Check that the seat is stable and doesn’t wobble.

Credit: www.wikihow.com
Final Adjustments
Tighten your toilet seat with ease by using a screwdriver or wrench. Check the bolts under the seat for any looseness. Turn them clockwise until they are snug.
The final adjustments to your toilet seat can often be the most satisfying part of the process. After you’ve gone through the hassle of removing and replacing, you’re now at the stage where everything should come together seamlessly. This is where you’ll ensure that your toilet seat not only looks good but also functions as it should, providing a sturdy and comfortable experience.
Ensuring Proper Alignment
The seat should align perfectly with the bowl. Check the gaps on either side to ensure they are even. If you notice any misalignment, gently adjust the seat’s position until it sits perfectly centered.
You might be surprised at how much a small shift can make a difference. Loosen the bolts slightly if needed, reposition the seat, and then tighten them again.
Sometimes, it takes a few tries to get it just right. Don’t rush this step—precision here will save you from unnecessary hassle later.
Testing The Seat Stability
With the alignment set, it’s time to test the stability of the seat. Sit down gently and move slightly from side to side. Feel for any wobbling or movement.
If the seat shifts, it might mean the bolts need further tightening. Use your wrench to secure them, but be cautious not to overtighten and crack the plastic.
Think of this as a final checkpoint. Would you feel comfortable using the seat daily? If the answer is yes, you’ve done an excellent job.
Final adjustments are not just about tightening screws—they’re about ensuring comfort and reliability. Imagine hosting guests and having them compliment your bathroom’s functionality. Wouldn’t that make all the effort worth it?
Maintenance Tips
Tightening a loose toilet seat is simple. First, locate the bolts under the seat. Use a screwdriver to turn the bolts clockwise. This will secure the seat firmly. Always check for any damages or worn-out parts. Replace if necessary for safety and comfort.
Having a wobbly toilet seat can be more than just a minor inconvenience. It can also be a sign that it’s time to give your bathroom fixtures some much-needed attention. Maintaining your toilet seat not only ensures a comfortable experience but also prolongs its lifespan. Let’s dive into some practical maintenance tips that will help keep your toilet seat in top shape.
Regular Check-ups
Make it a habit to inspect your toilet seat every few weeks. A quick glance can alert you to any loose screws or hinges that might need tightening.
It’s surprising how a simple check can prevent more significant issues down the line.
If you spot any rust or wear and tear, address it immediately. This can save you from replacing the entire seat sooner than necessary.
Preventing Future Issues
Consider using rubber washers when tightening screws. They provide a better grip and can reduce the likelihood of your seat loosening over time.
Avoid using overly harsh cleaning chemicals on your toilet seat. These can weaken the materials and lead to cracks.
If your bathroom sees a lot of traffic, think about upgrading to a more durable seat. It might be an investment, but it can save you from frequent maintenance.
Do you have a routine for checking your toilet seat? If not, starting today might just save you a headache tomorrow.
Frequently Asked Questions
How Do I Tighten My Toilet Seat?
To tighten your toilet seat, locate the bolts under the seat hinges. Use a screwdriver to turn them clockwise. Ensure the seat aligns properly before fully tightening. Check for any loose parts and adjust as needed for a secure fit.
Why Does My Toilet Seat Keep Moving To The Side?
Loose bolts or worn-out hinges cause toilet seats to move sideways. Tighten bolts or replace hinges for stability. Regular maintenance prevents this issue and ensures comfort. Check seat fitting and alignment to avoid future movement. Consider using rubber washers for added grip and durability.
How Do You Tighten A Toilet Seat With Hidden Bolts?
To tighten a toilet seat with hidden bolts, locate the access points under the seat. Use a screwdriver to tighten the bolts securely.
How To Tighten A Wobbly Toilet?
Tighten the toilet bolts using a wrench. Ensure they are snug, but do not overtighten. Check for any leaks.
Final Words
Tightening a toilet seat is simple and quick. Follow our easy steps. You need only basic tools and a few minutes. Regular checks can prevent future problems. Ensure your bathroom stays functional and comfortable. With these tips, you can handle minor fixes confidently.
A secure toilet seat makes a big difference. Keep your home in top shape with little effort. Now, you know how to tighten a toilet seat. Happy fixing!