Disclosure: This post contains affiliate links and I will be compensated if you make a purchase after clicking through my links. Learn More
Teflon tape, also known as PTFE tape, is a common tool used in plumbing to create watertight seals on pipe threads. However, there are times when old Teflon tape needs to be removed, such as when replacing valves, fixing leaks, or resealing connections.
In this comprehensive guide, we’ll walk you through the process of removing old Teflon tape step-by-step, ensuring that you can achieve a clean and secure reapplication.
Why Remove Old Teflon Tape?
Before we dive into the removal process, it’s crucial to understand why removing old Teflon tape is essential. When applying new Teflon tape or sealing compounds, it’s necessary to start with clean threads. Leaving old, damaged, or excess tape on the threads can lead to several issues:
- Leaks: Old tape can create gaps or uneven surfaces, preventing a proper seal and resulting in leaks.
- Poor Connections: Buildup of old tape can cause misalignment or prevent the connection from being tightened correctly, leading to weak or unstable joints.
- Contamination: Degraded tape can introduce debris into the system, potentially causing clogs or damage to valves and other components.
By removing old Teflon tape thoroughly, you ensure a clean surface for the new application, promoting a secure and reliable seal.
Tools and Materials Needed
Before starting the removal process, gather the following tools and materials:
- Utility knife
- Wire brush or an old toothbrush
- Clean rag or cloth
- Solvent (such as acetone or isopropyl alcohol)
- Gloves for protection
- Safety goggles
Optional:
- Pipe wrench or pliers (for holding the pipe steady)
Having these items on hand will make the removal process more efficient and effective.
Step-by-Step Process to Remove Old Teflon Tape
Now that you have your tools and understand the importance of removing old tape, let’s walk through the step-by-step process:
Safety First: Put on your gloves and safety goggles to protect your hands and eyes from debris and solvents.
Secure the Pipe: If the pipe is loose, use a pipe wrench or pliers to hold it steady. This will make it easier to work on the threads without the pipe moving or turning.
Cut and Peel: Using a utility knife, carefully cut through the old Teflon tape, parallel to the threads. Be cautious not to damage the threads themselves. Once you’ve made an initial cut, start peeling the tape off the threads. If the tape is old and brittle, it may come off easily. If it’s stubborn, continue to the next step.
Brush Away Residue: Use a wire brush or an old toothbrush to remove any remaining tape fragments and residue from the threads. Work the brush along the threads, using short, firm strokes to dislodge any stuck-on pieces.
Clean the Threads: Apply a small amount of solvent (acetone or isopropyl alcohol) to a clean rag or cloth. Wipe down the threads thoroughly, removing any remaining tape residue and debris. The solvent will help dissolve stubborn adhesive and ensure a clean surface.
Inspect and Repeat if Necessary: Examine the threads closely to ensure that all of the old tape has been removed. If you notice any remaining residue, repeat steps 4 and 5 until the threads are completely clean.
By following these steps carefully, you’ll successfully remove old Teflon tape, preparing the threads for a new, secure application.
Expert Tips for Easy Removal
While the step-by-step guide covers the basic removal process, there are a few additional tips that can make the job easier, especially when dealing with stubborn tape:
Soak in Solvent
If the tape is particularly stubborn or has been on the threads for an extended period, try soaking a rag in solvent and wrapping it around the threads. Let it sit for a few minutes to help loosen the adhesive before scrubbing with a brush.
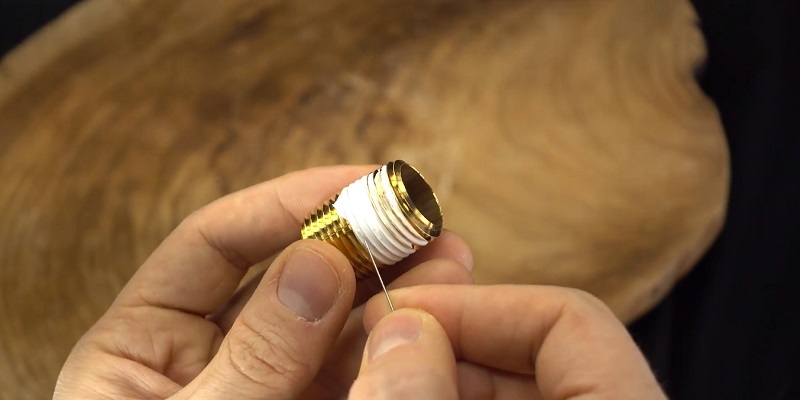
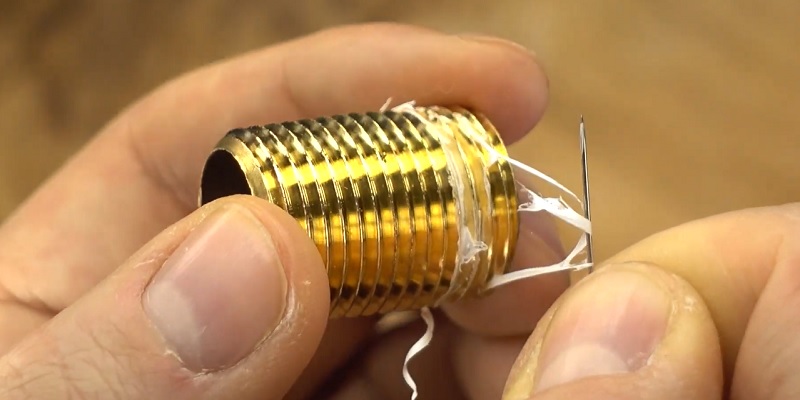
Use a Pointed Tool
For hard-to-reach areas or tight spaces, use a pointed tool like a needle or dental pick to carefully scrape away the tape. Be cautious not to damage the threads in the process.
Apply Heat
In some cases, applying a small amount of heat from a hair dryer or heat gun can help soften the tape and make it easier to remove. Be careful not to overheat the pipe or fittings, as this could cause damage.
Ensure Complete Removal
Before applying new tape, double-check that all old tape and residue have been removed. Even small fragments can interfere with a proper seal, so take the time to clean the threads thoroughly.
By following these expert tips, you’ll be able to tackle even the most stubborn Teflon tape and ensure a clean surface for reapplication.
Common Mistakes to Avoid
While removing old Teflon tape may seem straightforward, there are a few common mistakes that people often make. To ensure a successful removal and reapplication, avoid these pitfalls:
Not Cleaning the Threads Properly: Failing to remove all of the old tape and residue can lead to leaks and poor connections. Take the time to clean the threads thoroughly before applying new tape.
Using Too Much Force: When cutting or peeling the tape, be gentle to avoid damaging the threads. Using too much force can create scratches or dents, making it difficult to achieve a proper seal.
Applying New Tape Over Old: Never apply new Teflon tape over old tape. This will create an uneven surface and prevent a secure seal. Always remove the old tape completely before reapplying.
Overusing Solvents: While solvents are helpful for removing stubborn residue, using too much can be harmful. Apply solvents sparingly and always follow the manufacturer’s instructions and safety precautions.
By being aware of these common mistakes and taking steps to avoid them, you’ll be able to remove old Teflon tape effectively and ensure a successful reapplication.
How to Properly Reapply Teflon Tape
Once you’ve successfully removed the old Teflon tape and cleaned the threads, it’s time to reapply new tape. Here’s a brief guide on how to do it correctly:
- Start by wrapping the tape around the threads in the direction of the threads. This is typically clockwise for male threads and counterclockwise for female threads.
- Overlap each wrap by about 50% to ensure full coverage. The tape should be applied smoothly, without wrinkles or bunches.
- Make about 3-5 wraps for most applications. The number of wraps may vary depending on the size of the pipe and the specific application.
- After the final wrap, continue wrapping the tape for about one more thread, then carefully tear the tape off. This will help prevent the end of the tape from unraveling when the connection is tightened.
By following these steps and applying the tape carefully, you’ll create a secure and leak-free seal.
Final Thoughts
Removing old Teflon tape is a crucial step in maintaining and repairing plumbing connections. By taking the time to remove the tape properly and clean the threads thoroughly, you’ll ensure a secure and reliable seal when reapplying new tape.
Remember to follow the steps carefully, use the appropriate tools and materials, and avoid common mistakes. With a little patience and attention to detail, you’ll be able to tackle old Teflon tape removal like a pro.
Frequently Asked Questions
Can I reuse Teflon tape?
No, it’s not recommended to reuse Teflon tape. Once the tape has been used and removed, it may have stretched, torn, or collected debris, making it less effective for creating a seal. Always use new Teflon tape for each application.
Read About: Should I Use Teflon Tape on Plastic Fittings
What if the tape is too stubborn to remove?
If the tape is particularly stubborn, try soaking a rag in solvent and wrapping it around the threads. Let it sit for a few minutes to help loosen the adhesive before scrubbing with a brush. You can also apply a small amount of heat from a hair dryer or heat gun to soften the tape, but be careful not to overheat the pipe or fittings.
Is there an alternative to using Teflon tape?
Yes, there are other thread sealants available, such as pipe dope or thread seal tape with PTFE. These products can be used in place of Teflon tape, but it’s important to follow the manufacturer’s instructions for application and removal.
We hope this guide has been helpful in navigating the process of removing old Teflon tape. If you have any further questions or want to share your own experiences, please leave a comment below. For more plumbing tips and tutorials, be sure to check out our other articles and guides.

