Disclosure: This post contains affiliate links and I will be compensated if you make a purchase after clicking through my links. Learn More
Leaky kitchen sinks are frustrating. They waste water and damage cabinets.
Fixing a kitchen sink leak is simpler than you think. With a few tools and a bit of know-how, you can tackle this common problem yourself. Kitchen sink leaks can stem from various issues. Whether it’s a worn-out seal, loose pipe, or faulty faucet, identifying the cause is crucial.
Fixing the leak promptly prevents further damage and saves money. This guide will walk you through the steps to diagnose and fix the leak, ensuring your sink is back to perfect working condition. No need for a plumber—just follow these straightforward instructions and get your kitchen back to normal. Let’s dive into solving that leak!
Identifying The Leak Source
Identifying the source of a kitchen sink leak is crucial. It helps prevent further damage and saves on repair costs. A leak can stem from various components. Understanding these is key to fixing the issue efficiently.
Check Faucet Connections
Faucet connections are common leak sources. Loose fittings cause water to drip. Inspect them closely. Tighten any loose nuts with a wrench. Look for worn-out washers or seals. Replace them if needed. This simple step often resolves minor leaks.
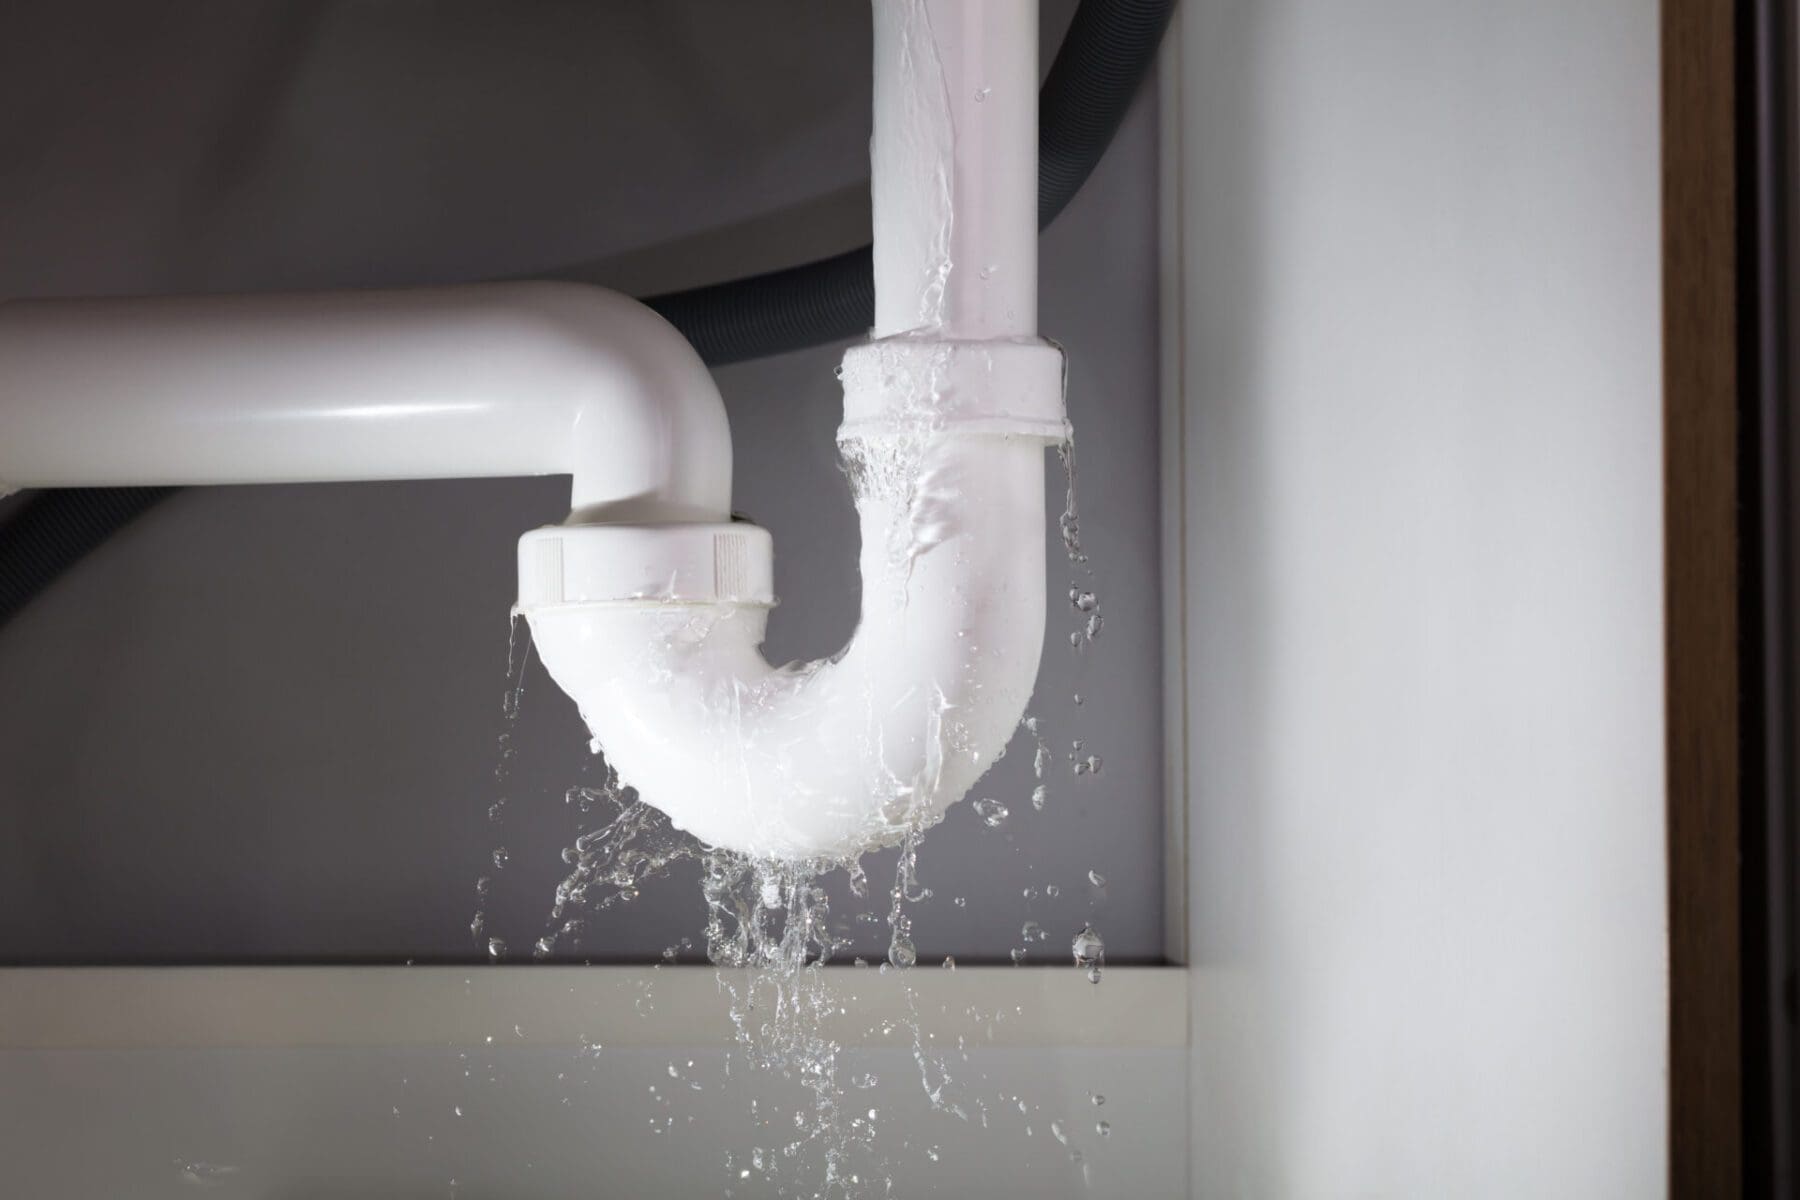
Inspect The P-trap
The P-Trap is another potential leak site. It’s shaped like a ‘P’ under the sink. This part traps debris and prevents odors. Check for cracks or corrosion. These issues cause leaks. Use a flashlight for better visibility. Ensure the nuts are tight. Replace damaged pipes promptly. This prevents further complications.
Necessary Tools And Materials
Fixing a kitchen sink leak might seem daunting at first, but with the right tools and materials, it becomes a manageable task. Knowing exactly what you need not only saves time but also ensures the job is done correctly. Let’s dive into the essentials that will set you up for success.
Gather Basic Tools
Before you start, make sure you have the basic tools on hand. A wrench is crucial for loosening and tightening nuts and bolts. An adjustable wrench, often called a crescent wrench, is particularly useful because it can fit various sizes of nuts.
You’ll also need a bucket to catch any water drips. This prevents water from making a mess under your sink. Additionally, a pair of pliers will help you grip and turn parts that are too tight or too slippery to handle with your fingers.
Don’t forget a flashlight. Under the sink can be a dark and cramped space. A good light source will help you see what you’re doing and avoid unnecessary mistakes.
Purchase Replacement Parts
Identify the source of the leak before heading to the hardware store. Common culprits include worn-out washers, gaskets, or seals. Knowing what part is faulty will save you from buying unnecessary items.
If the leak is from the faucet, you might need replacement O-rings or cartridges. For leaks under the sink, check for cracked pipes or loose connections. Take the old parts with you to ensure you get the right replacements.
Consider purchasing plumber’s tape, also known as Teflon tape. This handy item helps create a watertight seal on threaded connections, reducing the chance of future leaks. A small investment in these materials can make a big difference in the longevity of your repair.
Have you ever fixed a kitchen sink leak before? What tools did you find most helpful? Share your experiences and tips in the comments below!
Fixing A Leaky Faucet
Fixing a leaky faucet in the kitchen sink is simple. Start by turning off the water supply. Then, tighten the connections using a wrench. Replace worn-out washers or seals to stop the drip. This quick fix can save water and prevent damage.
Dealing with a leaky kitchen faucet can be frustrating. However, fixing it is often simpler than you might think. A leaky faucet usually indicates a problem with its components, and in many cases, you can handle these issues without calling a plumber. This saves you time and money, and it gives you a sense of accomplishment. Let’s dive into some practical steps you can take to fix that pesky leak.
Tighten Loose Connections
The first step in fixing a leaky faucet is checking for loose connections. You’d be surprised how often a loose nut or bolt is the culprit. Ensure all the connections under the sink are snug. Use a wrench to gently tighten them if necessary.
A friend of mine once spent weeks dealing with a leak, only to find out it was a loose connection. Tightening it solved the problem instantly. Could this be the issue with your sink?
Replace Worn-out Washers
Washers are small but mighty components that can cause big leaks when worn out. They create a seal within the faucet, preventing water from escaping. Over time, they can degrade or become misshaped, leading to leaks.
To replace them, turn off the water supply and disassemble the faucet. Take the old washer to a hardware store to find a perfect match. After installing the new washer, reassemble the faucet and test for leaks.
Replacing washers is a straightforward process that can make your faucet function like new. Have you checked your washers lately? They might just need a swap to stop that leak.
With these steps, you can tackle one of the most common causes of kitchen sink leaks. Remember, a little effort can lead to significant savings and a more efficient kitchen.
Repairing A Leaky P-trap
Dealing with a leaky P-trap can be a common household issue. The P-trap is the curved pipe under your sink. It prevents sewer gases from entering your home. A leak in this area can cause water damage and unpleasant odors. Fixing it is crucial for a functional kitchen.
Understanding the steps to repair a leaky P-trap can save you time and money. It doesn’t require advanced plumbing skills. With basic tools and a little patience, you can do it yourself.
Tighten Slip Nuts
Slip nuts connect the P-trap to other pipes. Over time, they may loosen. This can cause leaks. Use a wrench to tighten these nuts securely. Be careful not to over-tighten. It could damage the pipes.
After tightening, run water through the sink. Check for any remaining leaks. If water still drips, further inspection might be needed.
Replace The P-trap
If tightening doesn’t work, replacement might be necessary. First, turn off the water supply. Place a bucket under the P-trap to catch water. Unscrew the slip nuts and remove the old P-trap.
Take the old P-trap to a hardware store. Find a similar replacement. Install the new P-trap by securing it with slip nuts. Ensure all connections are tight. Turn the water back on and test for leaks.
Replacing the P-trap can often solve persistent leaks. It’s a simple fix that restores your sink’s functionality.
Addressing Drainpipe Leaks
Fixing a kitchen sink leak involves checking the drainpipe for cracks or loose connections. Tighten any loose nuts and replace damaged parts with new ones. Ensure all fittings are secure to prevent future leaks.
Addressing a leaky drainpipe under your kitchen sink might seem daunting, but with the right guidance, you can tackle it effectively. Imagine waking up to a puddle of water under your sink, and you realize the leak has been silently causing damage. Addressing these leaks promptly not only saves you money in the long run but also helps maintain a healthy kitchen environment.
###
Apply Pipe Sealant
One of the simplest ways to fix a minor leak is by using pipe sealant. This is especially useful if you notice water dripping at the joints of your drainpipe.
Start by cleaning the affected area with a cloth to remove any grime or moisture. Apply a generous amount of pipe sealant around the joint, ensuring you cover all potential leak points. Allow the sealant to dry completely before running water again. This quick fix can often solve the problem without needing extensive repairs.
###
Replace Damaged Pipes
Sometimes, applying sealant might not be enough, especially if the pipe is cracked or heavily corroded. In such cases, replacing the damaged section of the pipe is the best course of action.
Begin by turning off the water supply to avoid any spills. Use a pipe wrench to carefully remove the damaged section. When purchasing a replacement, take the old piece with you to ensure a perfect match. Install the new pipe, making sure it’s tightly secured to prevent future leaks.
Have you ever considered how much damage a small leak can cause over time? By taking these steps, you not only protect your home but also extend the life of your plumbing system. Remember, addressing the issue sooner rather than later is key to avoiding bigger headaches down the road.

Credit: www.wikihow.com
Fixing A Leaky Sink Strainer
Fixing a leaky sink strainer can stop water damage under your kitchen sink. Tighten the strainer and check for worn-out seals. Replace seals if needed.
Fixing a leaky sink strainer can seem daunting, but with a bit of guidance, you’ll have it sorted in no time. Have you ever been startled by the sound of dripping water under your sink? It’s a familiar tale for many homeowners. Addressing a leaky sink strainer not only saves your kitchen from potential water damage but also restores peace of mind. Let’s dive into two practical solutions: resealing and replacing the strainer.
###
Reseal The Strainer
Often, the simplest solution is the most effective. Resealing the strainer can be a quick fix if the leak is due to a loose seal.
Start by removing the strainer. Unscrew the nuts holding it in place beneath the sink. You might need a basin wrench for this task, especially if space is tight.
Once removed, clean the strainer thoroughly. Any debris or old putty can prevent a new seal from forming properly. Wipe it down, ensuring no residue remains.
Next, apply fresh plumber’s putty around the edge of the strainer. The putty acts as a sealant, keeping water from escaping. Firmly press the strainer back into its opening and secure it with the nuts.
Test your handiwork by running water to check for leaks. Do you notice any drips? If not, congratulations! You’ve resealed your strainer successfully.
###
Replace The Strainer
Sometimes, resealing isn’t enough. If your strainer is damaged or corroded, replacing it is the best option.
Begin by purchasing a new sink strainer. Ensure it matches the size and type of your existing one. This prevents any installation hiccups.
Remove the old strainer. Unscrew the nuts, and it should pop right out. Cleaning the sink’s surface where the new strainer will sit is crucial. You don’t want any grime interfering with the new installation.
Place the new strainer into the sink hole. Apply plumber’s putty around its edge for a watertight fit. Secure it with the included nuts and washers.
After installation, run the water to test for leaks. Does everything look dry? If yes, you’ve successfully installed a new strainer.
Fixing a leaky sink strainer isn’t just about stopping the drip. It’s about maintaining your kitchen’s integrity. So, the next time you hear that telltale drip, remember these steps. Wouldn’t it be satisfying to fix the issue yourself?
Preventing Future Leaks
Preventing future leaks in your kitchen sink is crucial to maintaining a hassle-free kitchen environment. You might have fixed the current leak, but ensuring it doesn’t happen again requires some proactive steps. Let’s dive into how regular maintenance and avoiding common mistakes can keep your sink leak-free.
Regular Maintenance Tips
Regular maintenance is your first line of defense against sink leaks. Checking the condition of your pipes and fixtures can make all the difference. A simple inspection every month can reveal signs of wear and tear early.
Keep your sink clean and free of debris. Food particles and grease can accumulate and cause blockages, leading to leaks. Use a mild cleaner and a soft brush to clean the pipes.
Monitor water pressure in your home. High pressure can strain the pipes, leading to leaks. You can easily install a pressure regulator to maintain optimal levels.
Avoiding Common Mistakes
Many leaks are caused by avoidable mistakes. Over-tightening fittings might seem like a good idea, but it can damage seals and cause leaks. Tighten only until snug.
Avoid using harsh chemicals to clean your pipes. These can erode pipes over time, leading to leaks. Stick to environmentally-friendly cleaners.
Ignoring small drips is a mistake you can’t afford. A small drip might seem harmless, but it can escalate quickly. Address any drip immediately before it becomes a bigger issue.
What steps will you take to ensure your kitchen remains leak-free? A little effort now can save you from a major headache down the road. Implement these tips to maintain a happy, healthy kitchen sink.

Credit: www.youtube.com
When To Call A Professional
Leaking kitchen sinks sometimes need a professional touch. Persistent leaks, rusted pipes, or complex plumbing issues might be beyond DIY repairs. When the problem persists despite your efforts, it’s time to call an expert.
When your kitchen sink leaks, it can be a hassle. Sometimes, fixing it yourself is not the best choice. Knowing when to call a professional can save time and money. This section helps you decide when to seek expert help.
Signs Of Major Damage
If you notice water pooling under the sink, it’s a concern. This might mean a major issue in the plumbing. Strange noises like gurgling or hissing need attention too. These signs often point to deeper problems. Unpleasant odors from the drain also suggest trouble. They might mean something is blocking the pipes. Visible rust or corrosion on pipes indicates serious damage. Call a professional before the problem worsens.
Choosing The Right Plumber
Research is key to finding a good plumber. Read reviews online to gauge their reputation. Ask friends or family for recommendations. A licensed plumber is essential for quality work. Check their credentials and experience. Compare quotes from different plumbers to find the best deal. Make sure they offer a warranty on their work. This ensures they stand by their service. A reliable plumber will solve the leak efficiently.
Credit: nicholson-hvac.com
Frequently Asked Questions
How Do I Fix A Leak Under My Kitchen Sink?
To fix a leak under your kitchen sink, first, turn off the water supply. Tighten loose connections and replace worn-out washers or seals. Use plumber’s tape or pipe sealant for extra security. If the leak persists, consider replacing the faulty pipe or calling a plumber.
How To Stop Leakage In Kitchen Sink?
Identify the leak source under the sink. Tighten loose connections with a wrench. Replace worn-out washers or seals. Ensure pipes are properly aligned. Use plumber’s tape on threaded connections. Apply waterproof sealant around joints. Check for corrosion or damage, and replace affected parts.
Regular maintenance prevents future leaks.
How Do I Stop My Kitchen Sink From Dripping?
Replace the faucet’s worn-out washer or cartridge. Tighten any loose parts. If the leak persists, call a plumber.
What Is The Most Common Leak Under The Kitchen Sink?
The most common leak under the kitchen sink is from the drainpipe. Pipe connections often loosen over time. Check for worn-out seals or gaskets. Addressing these issues promptly prevents water damage and mold growth. Regular maintenance helps ensure a dry, leak-free sink area.
Final Words
Fixing a kitchen sink leak isn’t too complicated. Start by identifying the source. Tighten connections and replace worn parts. Check seals and washers for damage. If needed, use plumber’s tape for extra security. Regular maintenance helps prevent future leaks. Remember to turn off water before repairs.
A leak-free sink saves water and prevents damage. Keeping tools handy makes the job easier. Consult a professional if you’re unsure. A dry kitchen means peace of mind. Enjoy a hassle-free cooking space. Fixing leaks can be simple with patience and care.

