Disclosure: This post contains affiliate links and I will be compensated if you make a purchase after clicking through my links. Learn More
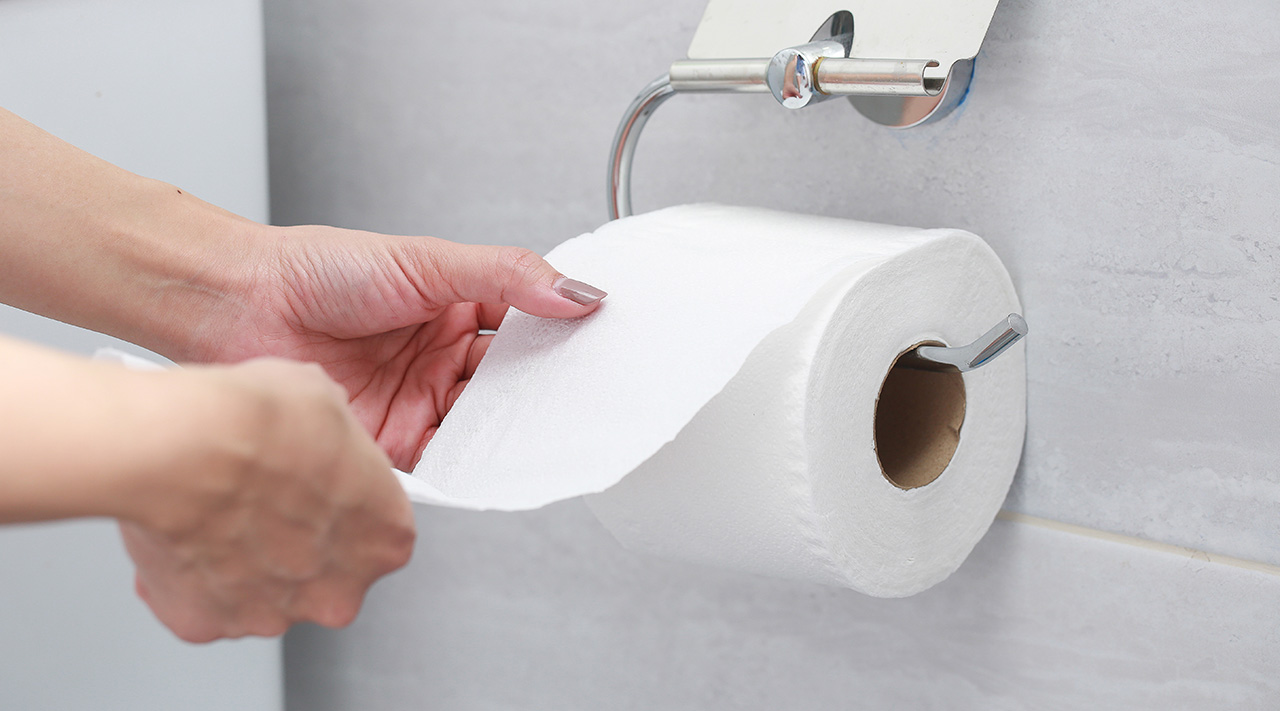
Installing a toilet roll holder may seem like a small task, but it can significantly enhance the functionality and look of your bathroom. Imagine a space where everything is within arm’s reach, and your toilet paper is neatly placed, ready for use.
Sounds convenient, right? This simple upgrade can make your daily routine smoother and your bathroom feel more organized. You don’t need to be a DIY expert to achieve this. With a few easy steps and some basic tools, you can transform your bathroom.
Let’s dive into how you can install a toilet roll holder with ease and precision, ensuring it’s both sturdy and stylish. Ready to make your bathroom more efficient? Let’s get started!
Choosing The Right Location
Choosing the right location for your toilet roll holder isn’t just about convenience—it’s about creating a seamless bathroom experience. Have you ever reached for toilet paper, only to find it’s awkwardly placed? Proper placement can prevent such discomfort. Let’s delve into the specifics of height and distance considerations, ensuring your installation is both practical and user-friendly.
Height Considerations
The height of your toilet roll holder can make a significant difference. Ideally, it should be positioned at a level that’s easy to reach for everyone who uses the bathroom. A common recommendation is about 26 inches above the floor.
This height generally caters to both adults and children, ensuring accessibility without the need for awkward stretching or bending. If you’ve got kids or elderly family members, you might want to adjust slightly to accommodate their needs.
Consider if you’ve ever had to lean awkwardly to grab the toilet paper—it’s not pleasant! Proper height ensures comfort and ease every time.
Distance From The Toilet
Distance from the toilet is another vital aspect. You don’t want to feel like you’re playing a game of Twister every time you need to grab some toilet paper. Ideally, the holder should be within arm’s reach when seated.
A good rule of thumb is to place it about 8-12 inches away from the toilet edge. This range allows for easy access without compromising on space. Think of those moments when you’re in a hurry—having the roll at just the right distance can save precious time.
Visualize your bathroom layout. Is there a wall close enough to the toilet? Placing the holder on this wall can be a smart move, ensuring you don’t have to reach too far during those urgent moments.
Remember, the perfect location isn’t just about aesthetics but functionality too. So, take a moment to consider your bathroom’s unique setup before you start drilling.
Marking The Drill Points
Installing a toilet roll holder can seem simple. Yet, marking the drill points is crucial. This ensures your holder stays secure. Accurate markings prevent mishaps. A crooked holder is annoying and inconvenient. Let’s explore the steps to mark drill points correctly.
Using A Level
A level is essential for marking drill points. First, hold your toilet roll holder against the wall. Next, place the level on top. Adjust the holder until the bubble is centered. This ensures the holder is straight. Mark the drill points while the level is in place. This keeps your holder aligned.
Measuring For Accuracy
Measuring ensures your holder is in the right spot. Use a tape measure for precision. Measure from the floor to the desired height. Mark this spot lightly with a pencil. Check the distance from nearby objects. This prevents awkward positioning. Ensure both sides are equal. This keeps your holder balanced.
Drilling Holes
To install a toilet roll holder, start by marking the wall where you want it. Then, use a drill to make holes at the marked spots. Finally, secure the holder with screws.
Drilling holes may seem intimidating, but it’s a straightforward process that can transform your bathroom with a neatly installed toilet roll holder. Whether you’re a DIY novice or a seasoned pro, mastering the art of drilling can save you time and ensure a secure installation. Picture this: a sturdy holder that’s perfectly aligned, not wobbling or falling off every time you reach for the roll. With a few easy steps, you can achieve this with confidence and precision.
Selecting The Drill Bit
Choosing the right drill bit is crucial for a smooth drilling experience. First, identify the wall type: drywall, tile, or concrete. Each material requires a different bit. For drywall, a simple wood bit works well, while tiles need a carbide-tipped bit. If you’re facing concrete, opt for a masonry bit. Consider the screw size that comes with your holder.
The drill bit should match the screw diameter to avoid loose fittings or damage. Check the packaging or consult an expert if unsure. A mismatched drill bit can lead to a frustrating installation experience.
Safety Precautions
Safety should always be your priority. Before you start drilling, ensure you’re wearing protective goggles to shield your eyes from debris. It’s easy to overlook this step, especially if you’re eager to get the job done. Trust me, a small speck can cause big discomfort. Secure the area by removing any obstacles. You don’t want tripping hazards while handling sharp tools.
Double-check that no electrical wires or plumbing pipes are behind the drilling site. Using a stud finder or wire detector can prevent costly mistakes. Are you prepared for the unexpected? Having a first aid kit nearby is wise, just in case. It’s better to be safe than sorry. These precautions aren’t just for experts; they’re essential for anyone handling a drill.
By following these simple steps, drilling holes for your toilet roll holder becomes a manageable task. Which part of the process do you find most challenging? Share your thoughts in the comments below!

Credit: www.wikihow.com
Mounting The Holder
Mounting a toilet roll holder is a straightforward task. With the right tools, it becomes even easier. Proper mounting ensures your holder stays secure. Follow these steps for a perfect installation.
Inserting Wall Anchors
Wall anchors offer extra support. They prevent the holder from loosening over time. Start by marking the spot for the anchors. Use a pencil for clear visibility. Drill holes at each marked spot. Choose the right drill bit for wall anchors. Insert the anchors into the drilled holes. Push them in firmly until flush with the wall.
Securing With Screws
After inserting the anchors, it’s time for the screws. Align the holder with the wall anchors. Place a screw into each anchor. Tighten the screws using a screwdriver. Ensure the holder is stable and doesn’t wobble. Check the alignment for straightness. Adjust if necessary. Your holder is now securely mounted.
Final Adjustments
After installing your toilet roll holder, make final adjustments. This ensures it functions correctly. These steps will help you achieve a perfect fit. They will also keep your bathroom neat.
Ensuring Stability
First, check the holder’s stability. Gently shake it to test its firmness. If it wobbles, tighten the screws. Use a screwdriver for this task. Tightening ensures the holder stays secure. A stable holder prevents accidents and breakage.
Aligning The Holder
Next, align the holder. It should be straight and level. Use a spirit level for accuracy. Adjust the screws if it’s tilted. Make small adjustments for precision. A properly aligned holder looks neat. It also makes grabbing toilet paper easy.

Credit: www.youtube.com
Credit: zogics.com
Final Words
Installing a toilet roll holder is simple with these steps. Gather your tools and follow the guide. Measure accurately to avoid mistakes. Drill carefully to prevent damage. Attach the holder securely for best results. Enjoy the convenience of a properly installed holder.
Practice makes perfect, so don’t stress if it takes time. Now, you can confidently complete this task. A small change that adds big comfort to your bathroom. Happy DIY-ing!

